A few days ago, I came across some photos that show the progress of a couple cakes I made. I thought it would be fun to share that cake story with you!
A few years ago, a client asked me to make their wedding and groom’s cakes. The groom was an avid mountain biker and the bride wanted to surprise him with a very large bicycle on top of his groom’s cake.
I always love cakes that pose a challenge so I gladly accepted. Little did I know how many trips to Lowe’s I would be taking. It was quite a larger challenge than I ever imagined, to try and build a bicycle this large and from scratch.
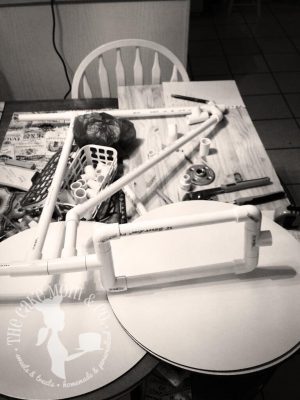
All of my PVC and bike building equipment.
I looked at a lot of Trek bicycles, and then started building.
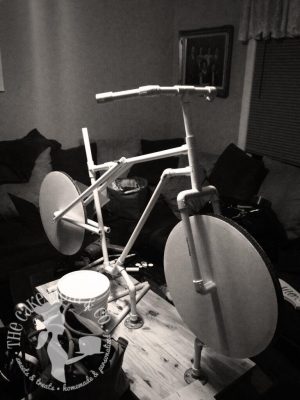
One thing I wish I could have done better was the wheels. That was one of those things that I didn’t really think about until it was time to actually make them. I ended up using large cake boards for the inside. For the outside I used pipe insulation for the rubber tire.
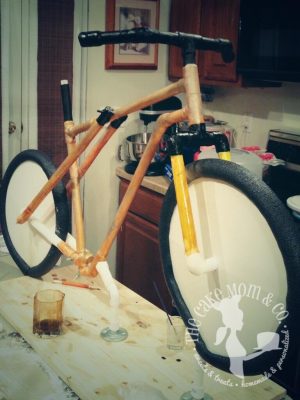
I applied fondant to all of the PVC, and then hand painted every detail.
I brainstormed every thing I could think of to actually keep the inside of the wheel open and have spokes, but came up empty.
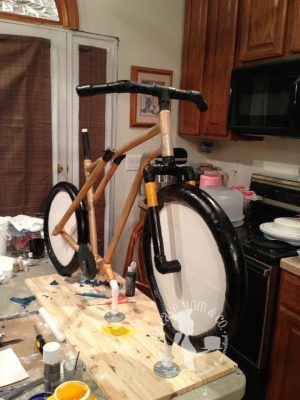
Here, the bike is almost finished. Fondant is applied to the tires and painted black.
For the bike seat, I bought a black flip flop and cut it to the shape of a seat. The actual bike never touched cake, except the front wheel on the rock/cake.
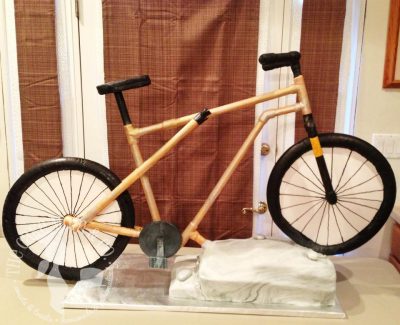
Finished and ready for delivery.
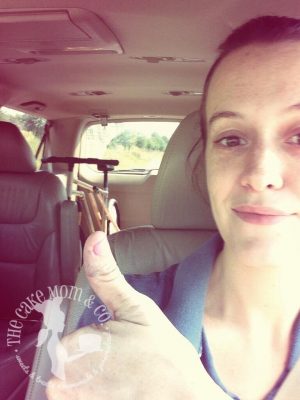
Me trying to be brave. This cake had to travel in my van for 2 hours.
I had to delivery the bike cake, the actual wedding cake, and also make a stop before those deliveries with a baby shower cake! I was so nervous driving all of these cakes. The whole delivery went smoothly, until I got to the actual venue and turned into the drive. That’s when I saw the back of the bike sort of turn and rotate. My hear sank, but I had to keep going. I was two hours away from any sort of cake supply, other than what I had brought with me.
I managed to find help and get the cakes inside. Fortunately, I was able to get the bike back into position and only a tiny bit of fondant came off of the frame. I was told a few years later that the groom did love his cake!
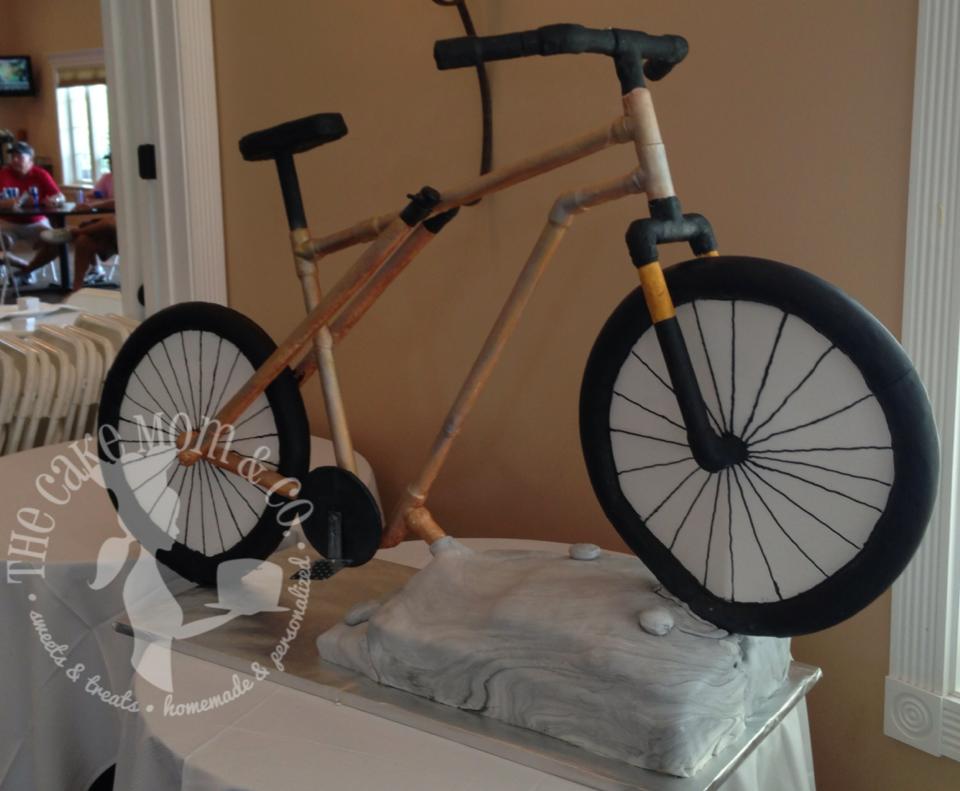
The bike cake sitting at the reception venue.
The actual wedding cake is still one of my favorites. A popular style at the time, was a lace look on the wedding cake. It took me a few months to really figure the actual technique out, because I am such a perfectionist, I wanted it perfect.
I found a cake company on Pinterest that I think originated the design, Amy Beck Cake Design. I asked them which cutters they had used, and exactly how to make the lace look. After a few weeks they actually responded to my question!
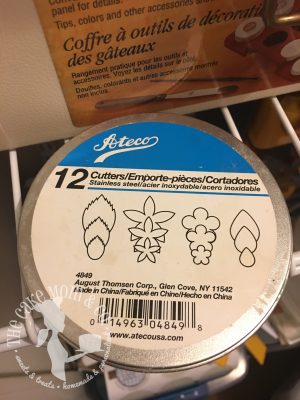
Ateco 4849 Plain Edge Flower & Leaf Shaped Cutter Set in Graduated Sizes, Stainless Steel, 12 Pc Set
Here is the link to get the cutter’s for your cake:
The bottom tier was six 10″ rounds stacked and then covered with fondant for the base.
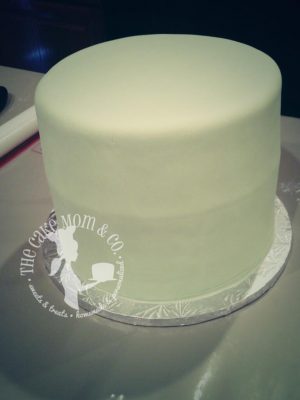
I then painstakingly cut each individual flower and leaf out with the small Ateco cutters, and then applied them to the cake. I also had to add in lines and details to each piece that I cut out. I then did this all again for the top 6″ tier.
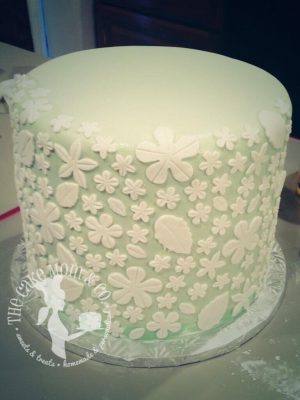
To achieve the lace look, you have to add in small lines of royal icing between each piece of fondant. I didn’t do this until I had the cake on the table at the reception venue. I was too nervous that the lines would fall off during my two hour delivery. I think it took about an hour or so to apply the lines, but that was a few years ago so it could have been longer.
After taking a quick nap, I woke up to find that the fondant at the bottom of this cake had decided to ripple at the bottom. I still have no idea why it did that, but thankfully it was only around the bottom edge of the bottom tier and my ribbon was just large enough to camouflage the ripples. Although they can still be seen, the ripples were not as noticeable once everything was together. I’m not sure why, but it seems every cake always has to have some flaw that drives me crazy!

Finished lace wedding cake.
You can see the royal icing lines I added on to the cake in the photo above. I absolutely love this design and wish that more people had requested it. It’s just so elegant.
