I tend to only have two settings when it comes to my children’s birthday cakes. Either I go all out, which is how I got started making cakes, or we get an ice cream or cookie cake. For my youngest child’s birthday I yet again went all out.
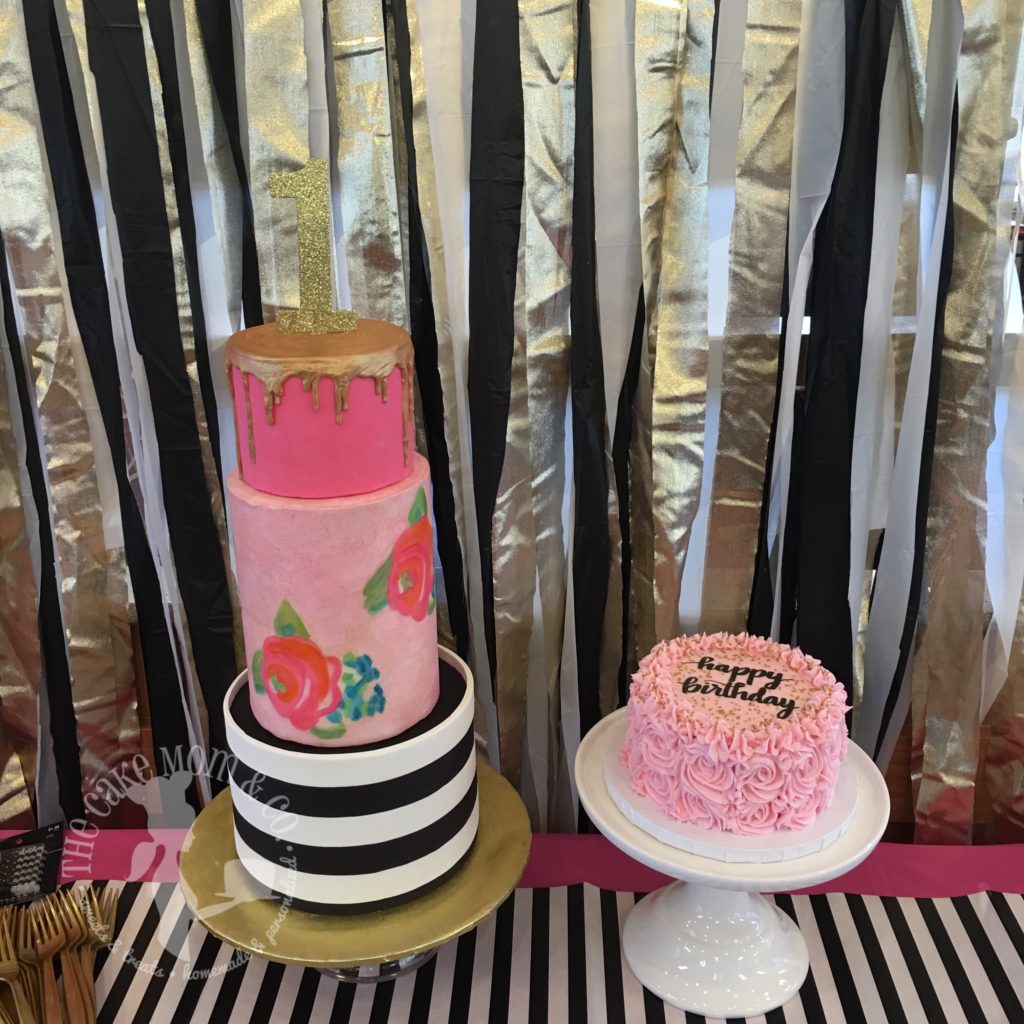
For Penelope’s first birthday I made a 3 tier cake that matched her theme, because at that point she was 1 and didn’t really care.
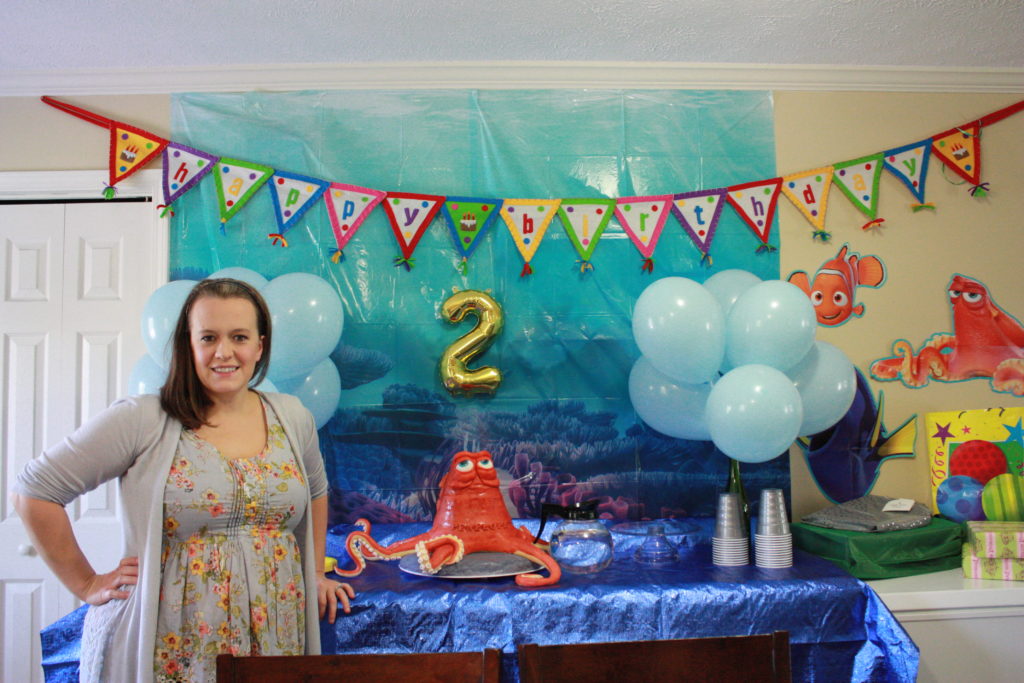
For her second birthday I made her a sculpted Hank, from the movie Finding Dory.
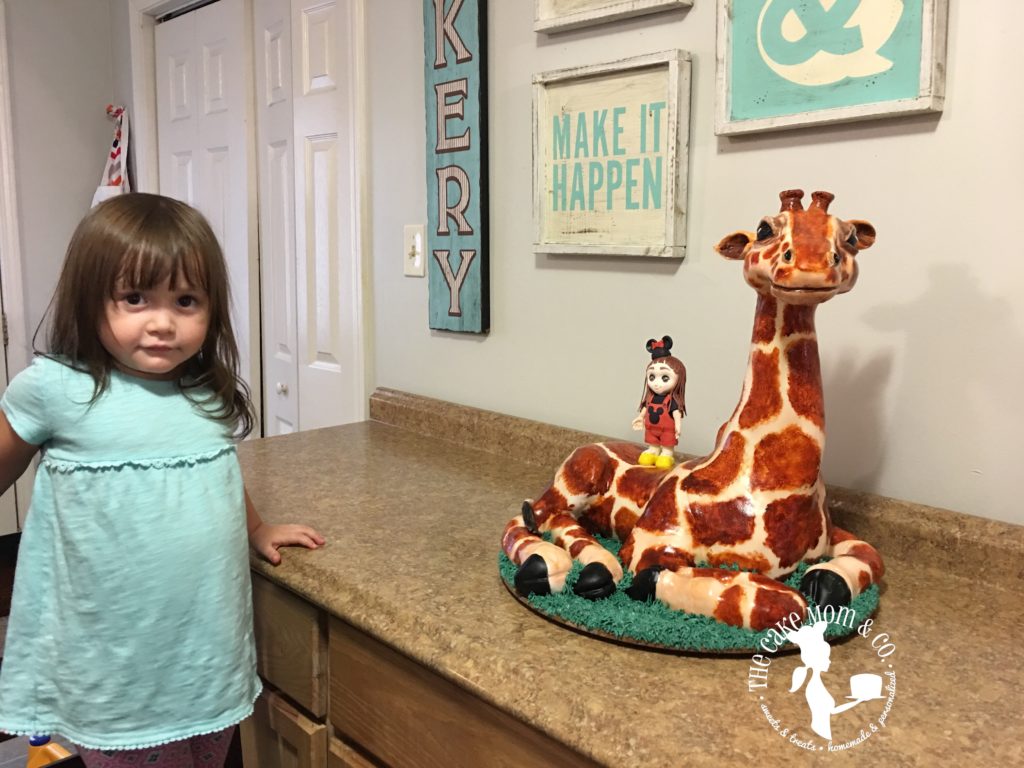
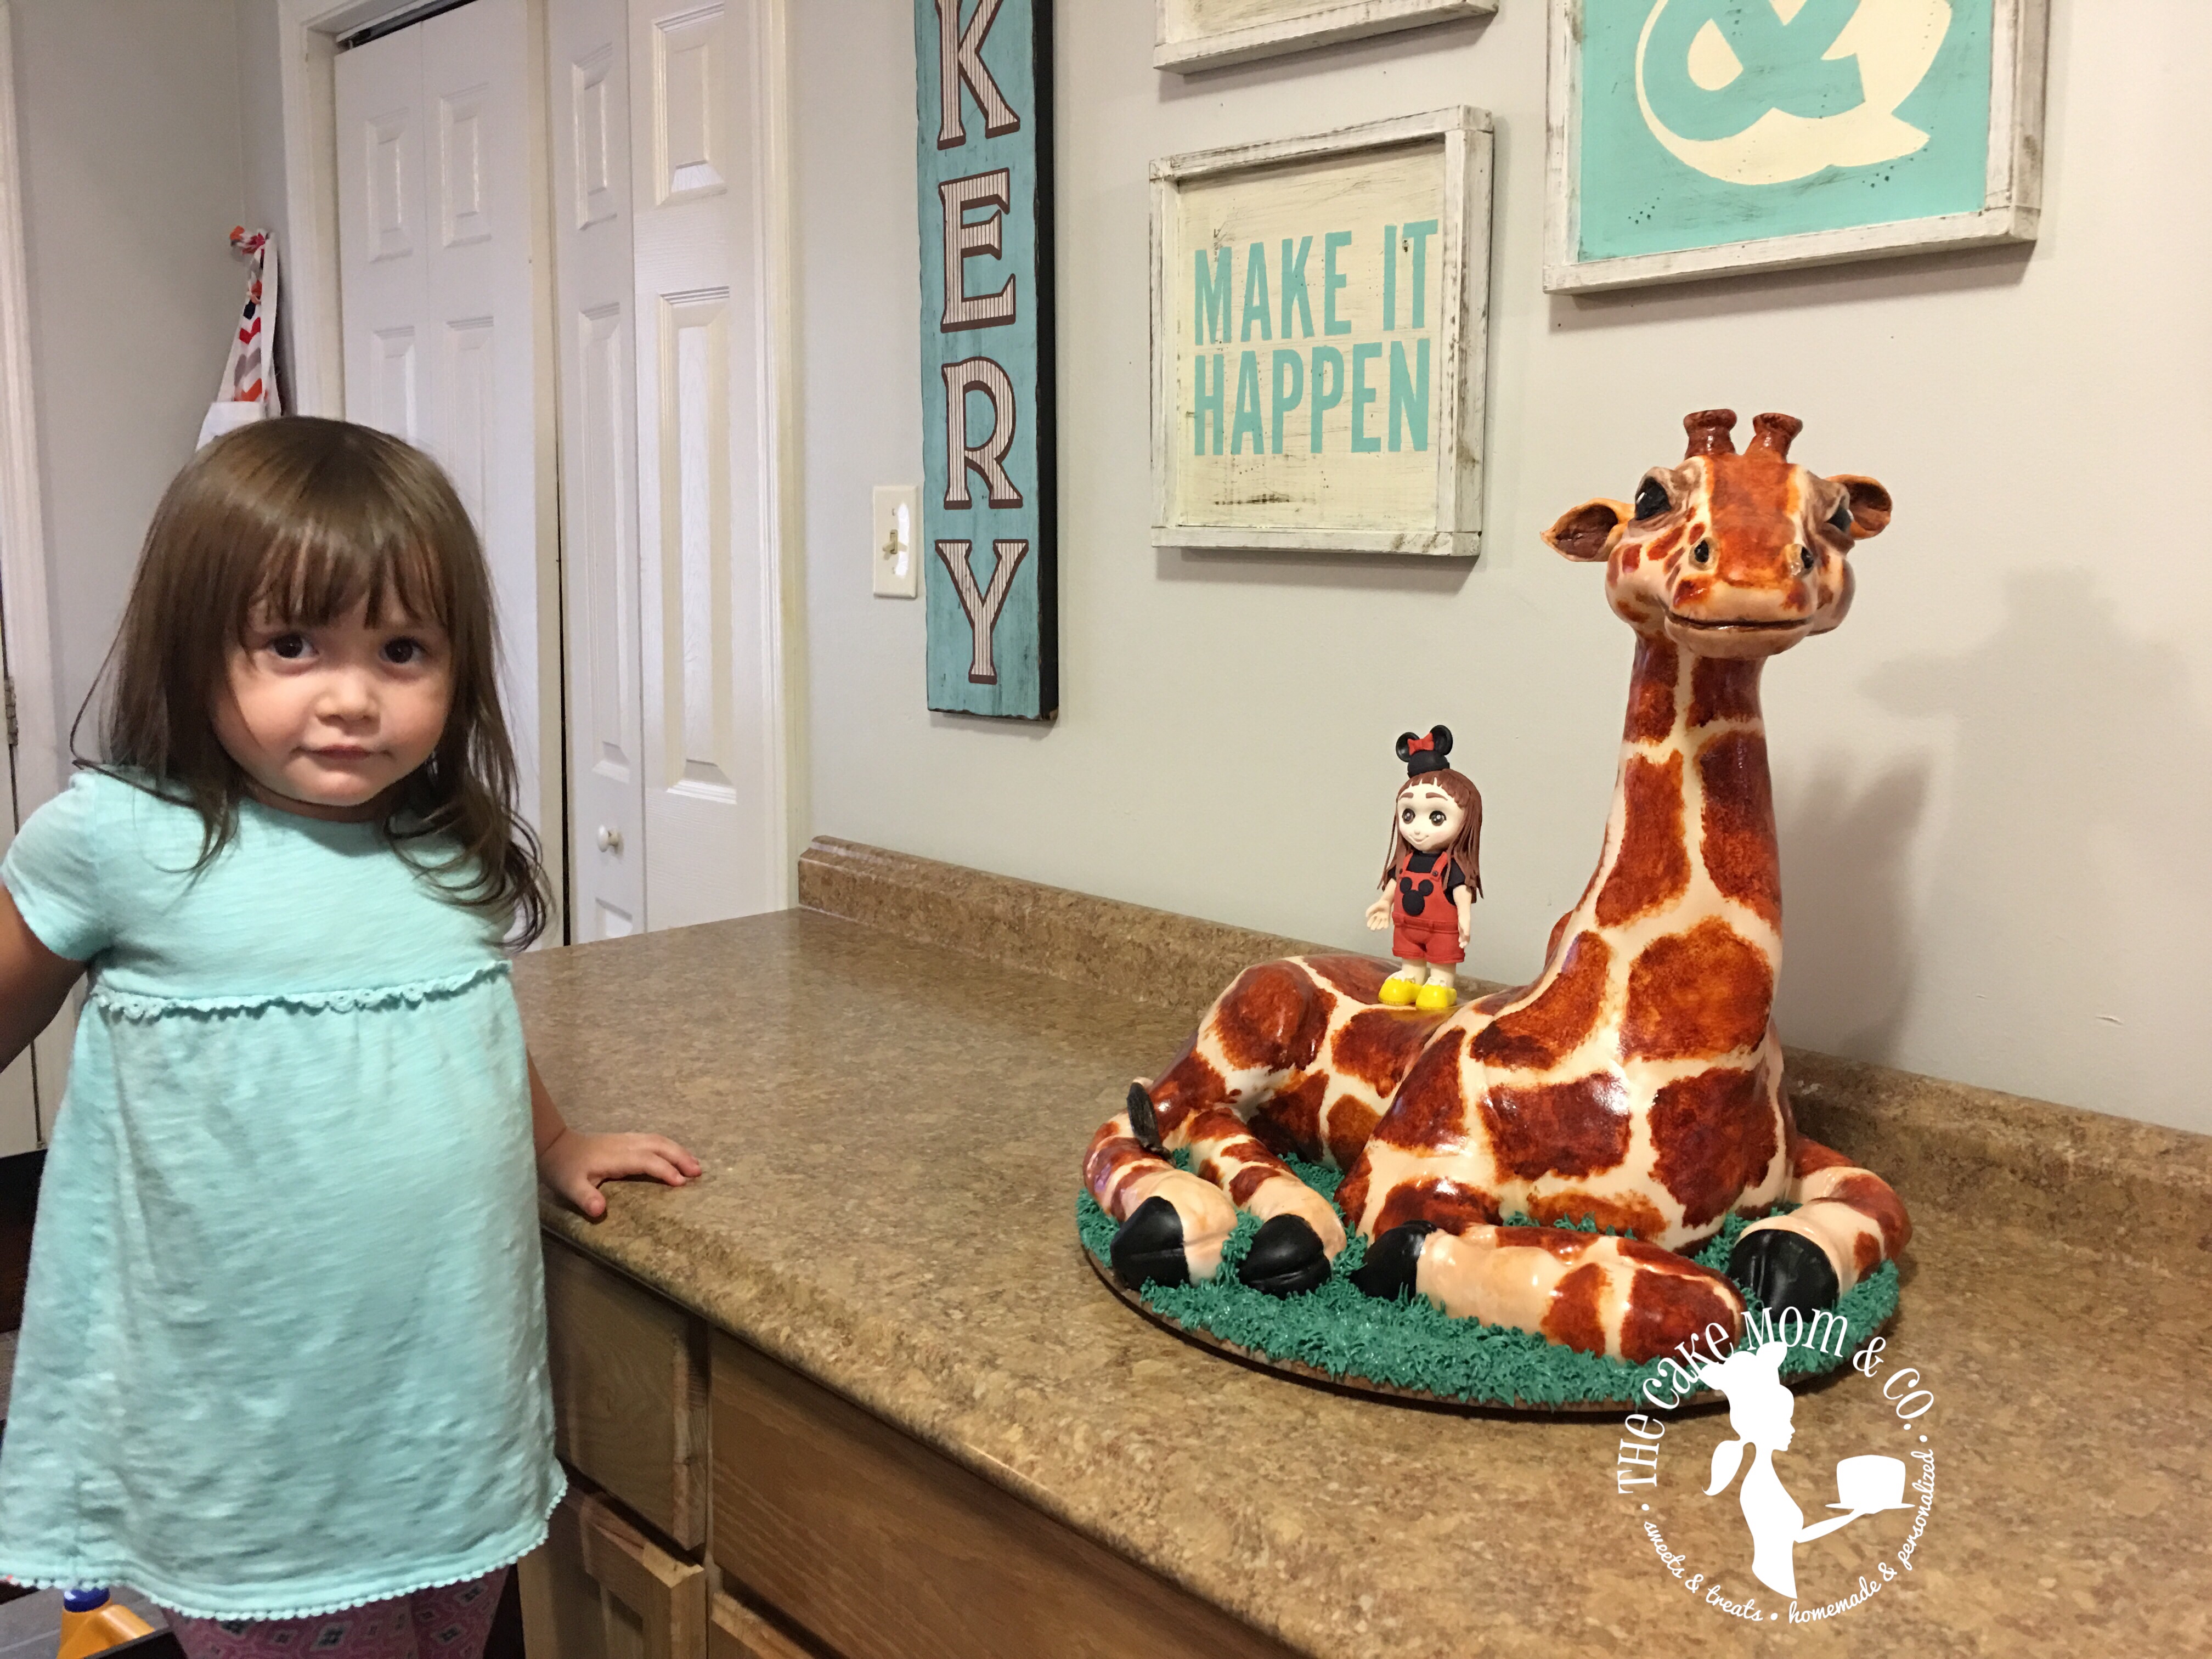
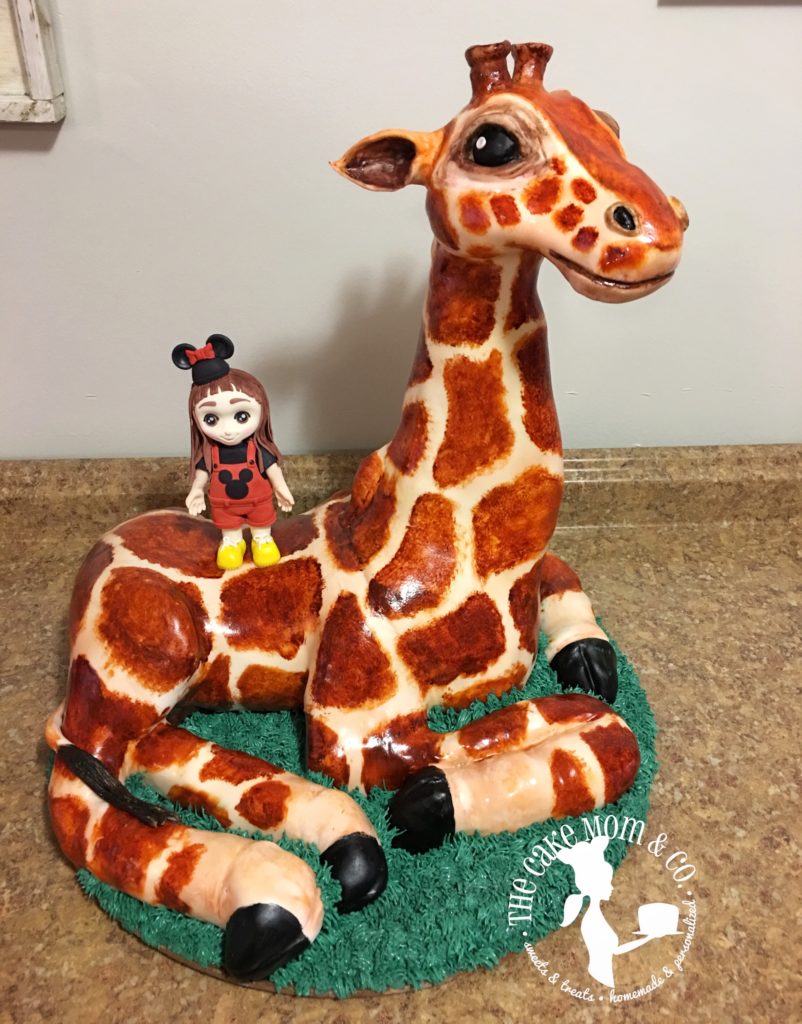
For her third birthday at the last minute I decided to go all out yet again. Last minute I decided to create a sculpted 3D giraffe cake, because we had went to the zoo over the summer and she loved the giraffes!
First I scoured the Internet for ideas. I found a great photo of a giraffe sculpture to go off of, and I found a website called Yeners Way where they showed how they too had created a 3D giraffe. So with their tips, I headed off to Lowe’s to buy a support rod and something to make the head stay up.
The back half of the giraffe was cake, and the rest was rice krispie treats. Since I didn’t want to make royal icing, I decided to mix cake crumbs and icing together and used that to hold the rice krispies. I let that sit over night. The next day was party day, and I had all of 6 hours to take this cake from a brown cake blob into a beautiful giraffe. The second photo below shows the step I started on party day. After going to the Show Me Sweets show and watching the live cake battle, it helped me realize that I could do this in 6 hours! 😉
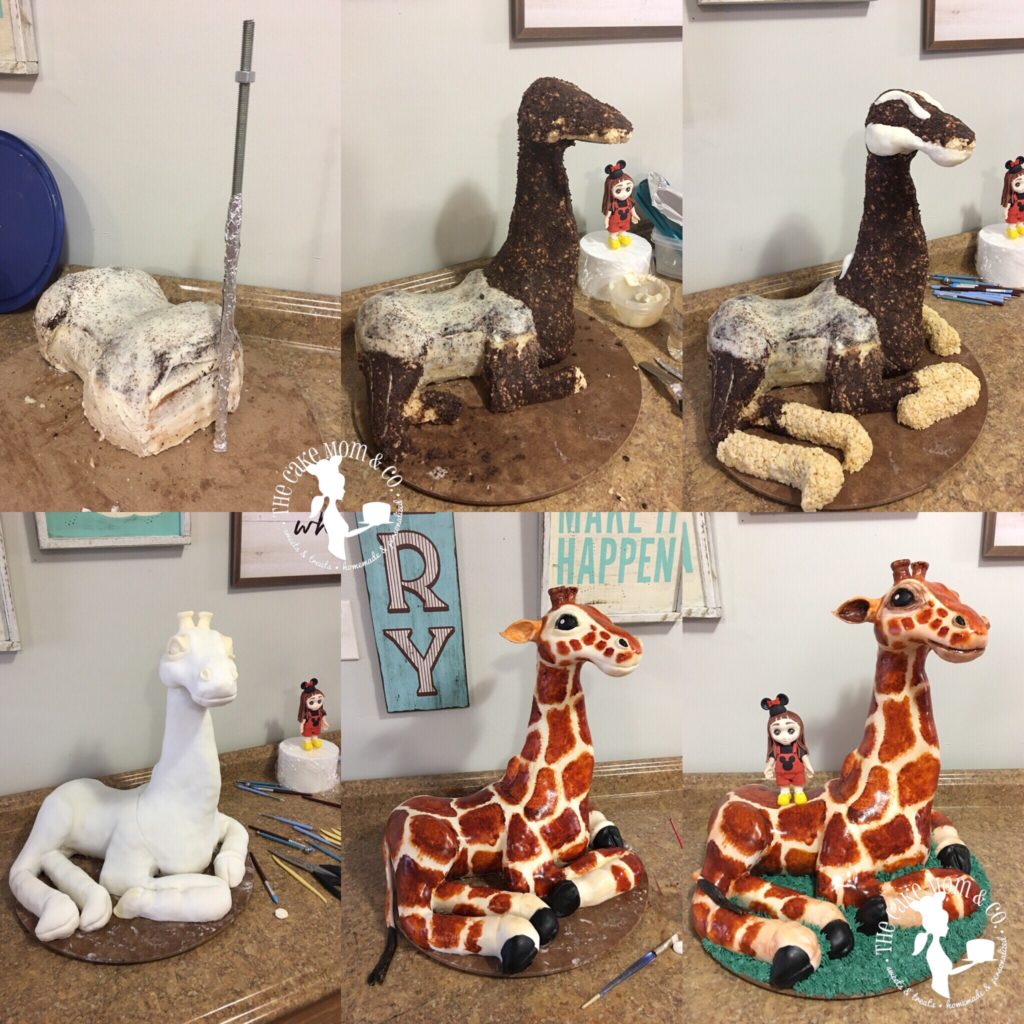
I used fondant and modeling chocolate to cover the giraffe. I mostly used modeling chocolate to sculpt the features like the face, ears and eyes. After the features were added I then airbrushed on the yellow tint and then hand painted/sponged on the spots, and painted the eyes and feet. Last minute, literally party guests were in the house, I used buttercream and the grass tip to cover the board. I then added on the Saracino modeling paste sculpture I made of Penelope to the back of the giraffe.
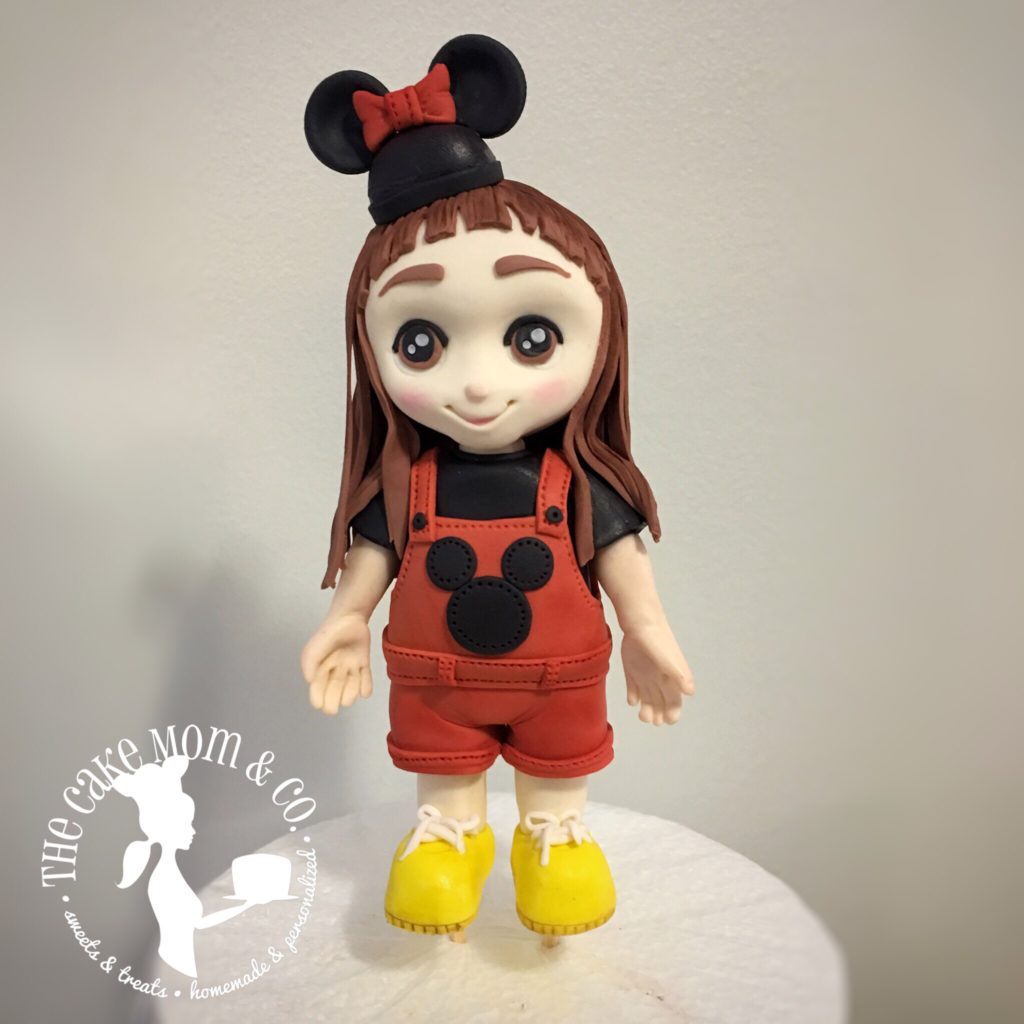
I used the Girl & Boy tutorial by Crumb Avenue to create this hand sculpted modeling paste figure of Penelope. This was so much fun to make! Check out Crumb Avenue because she makes the most adorable figures and tutorials to go with them!
Penelope loved her cake, and so did everyone at the party!
